How to Organize a Mural Project

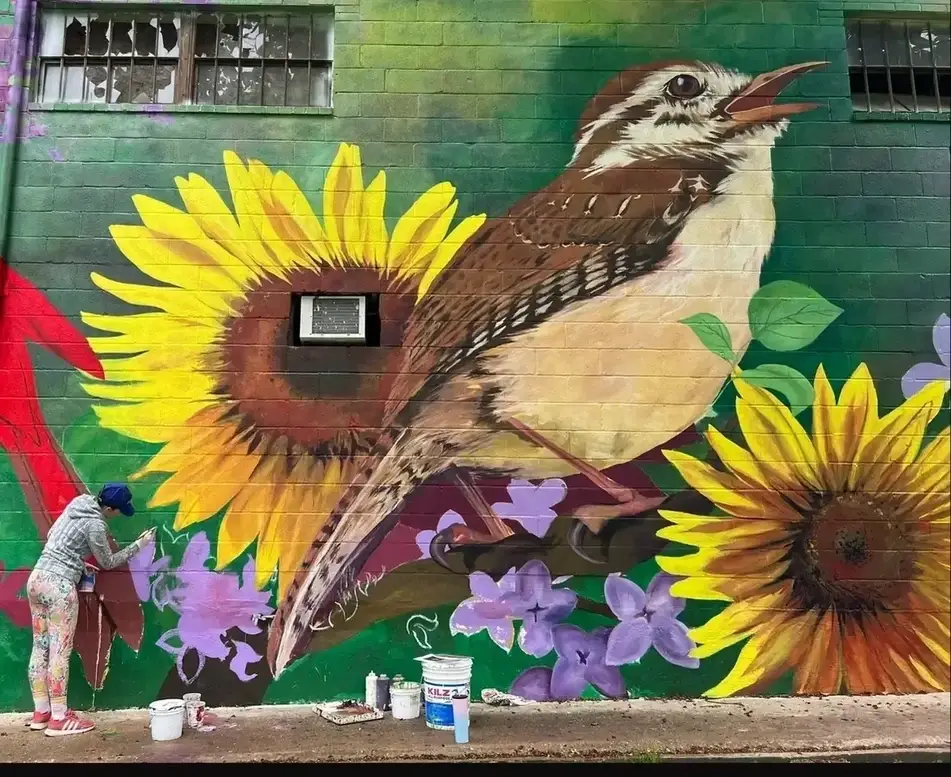
A mural project consists of transforming a blank wall in your community into a piece of art with help from friends and neighbors.
Why this recipe matters
Public art can have an incredible effect in your city or town; in fact, research shows that beautifying neglected spaces can foster a sense of community and improve public safety and well-being.
Ingredients
- Blank wall
- Grid template
- In-kind donation letter template
- Projector for transferring your sketched-out design to a blank wall
- Painting supplies, such as painter’s tape, various paint colors, brushes, gloves, stepladders, drop cloths and coveralls
- Cleaning supplies, such as garbage bags, water buckets, and rags
- Permit (optional)
- Photo release
Recipe
1. Find a blank wall.
- Take stock of the places around you that have walls with room for a mural, such as a school, church, or main street.
- Contact your local city council or representative to find out if you need a permit to paint a public space.
2. Gather a crew of volunteers.
- Partner with local artists, community groups, or scout troops to recruit volunteers and brainstorm your design.
- Consider teaming up with art nonprofits like Muralism or Groundswell to invite local artists to be part of the project.
3. Pick your design.
- Pick a theme for your mural project; if you’re painting a wall at a school, for example, you may decide to focus on children’s education or imagination.
4. Gather supplies.
- The type of paint you’ll need depends on whether the blank wall is located indoors or outdoors, so ask your local hardware store what they suggest for your project.
- Consider gathering these materials through donations, a community fundraiser, and/or by asking local businesses to contribute.
5. Paint the mural (and don’t forget to clean up!).
- Schedule which days you want to sketch out and paint your mural. Weekends may work better for volunteers, but you’ll also want to make sure the mural location won’t have heavy foot traffic on paint day(s).
- If volunteers are comfortable with it (and complete the photo release included in the ingredients), be sure to take and share photos of the mural on social using #Idealist so we can celebrate with you.
- Plan on dedicating a couple of hours to clean up once your mural is complete.
Nutritional Information
How this recipe has nurtured a community
"This is more than art. It's people, creating connections through art. It's messy, chaotic at times, but always fun, and the end result is an incredible piece of public art representing the community spirit that created it."
— Jordan A, Virginia
Finishing Touch
Encourage volunteers to leave their mark at the bottom of the mural, so whenever they walk by, they’re reminded that they had a hand in creating a beautiful piece of community artwork. Some things they could include:
- First name
- Initials
- Signature
- Single word to describe how the mural makes them feel
- Symbol

